The classes with the functionality to connect your device or Java application with Device Cloud are provided in a jar file (CloudConnector.jar). In order to access the contents of the library you have to put the jar file in the classpath directory or in any other path that your application uses to access libraries.
In this chapter you will learn how to:
All the steps are described for
|
|
Note that depending on the version of the IDE or JDK there could be minor differences with the information provided in the next paragraphs. Also, note that this is not a general guide about. |
To create a new Java ME project in NetBeans, follow these steps:
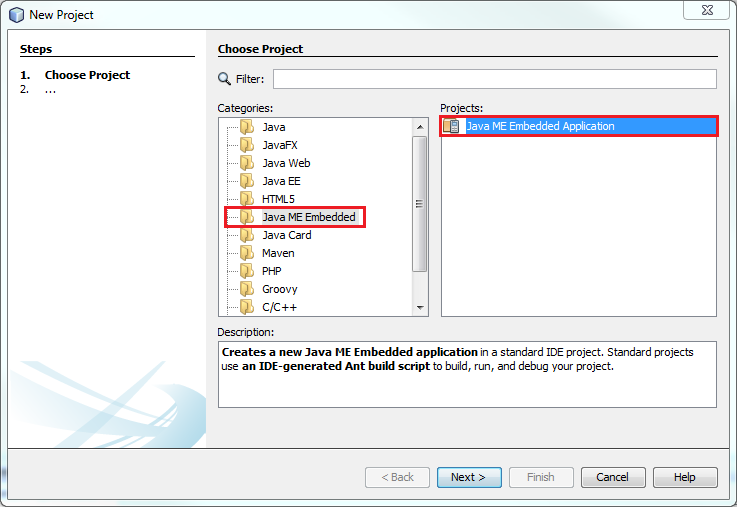
Navigate to the File menu and select New project....
You will be prompted with a New Project window. In the Categories frame, select Java ME Embedded and then Java ME Embedded Application on the right panel. Click Next.

|
To be able to create a Java ME project from NetBeans, you need to have the Java ME SDK 8 plugins for NetBeans installed. This can be downloaded from the Oracle website. |
In this last step you have to enter the Project Name and the Project Location. You can also select the JDK Path, the Java ME Platform, or the device to use, and create automatically the MIDlet by clicking the Create Midlet checkbox.
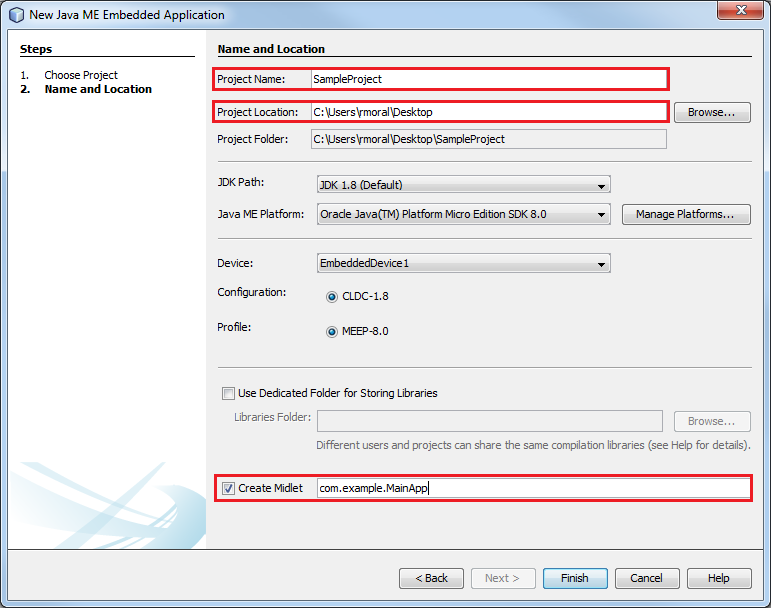
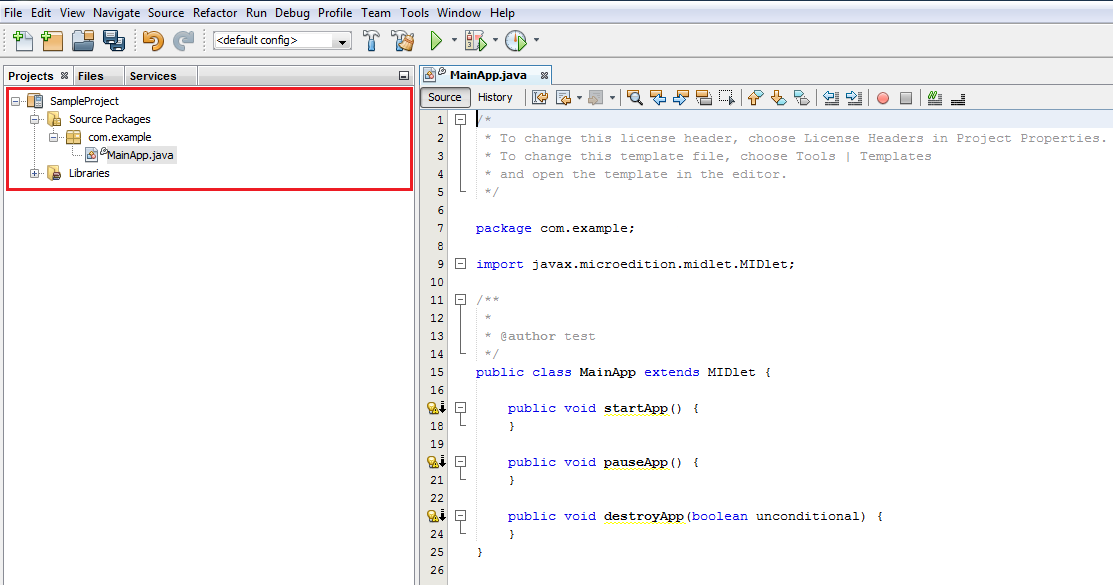
Click Finish to create the project; the window will close and the project will be listed in the Projects view at the left side of the IDE.
In order to be able to use Cloud Connector, you have to copy the library (CloudConnector.jar) to the project you just created and add it to its Java Build Path.
To do so:
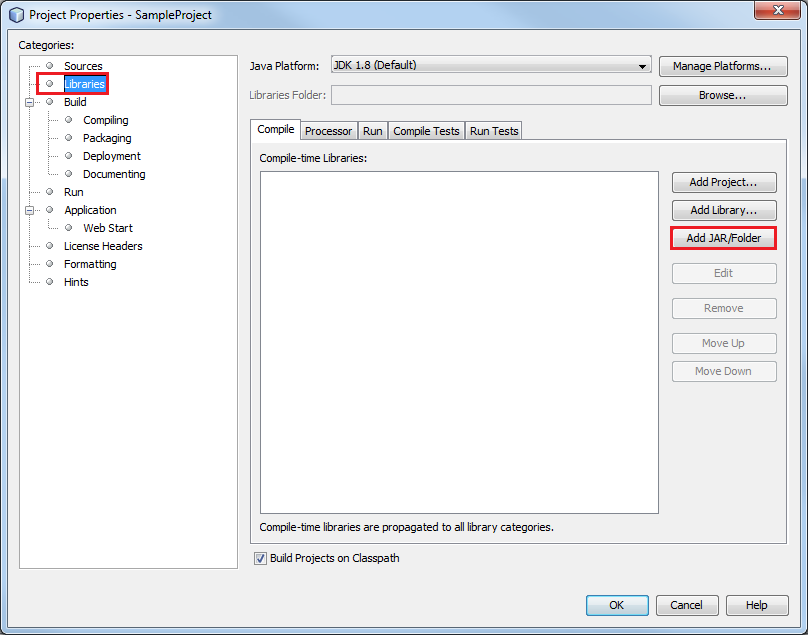
CloudConnector.jar library located inside the libraries/From the Projects view, right-click on your sample project and go to Properties.
In the left categories list, go to Libraries and click the Add JAR/Folder button.
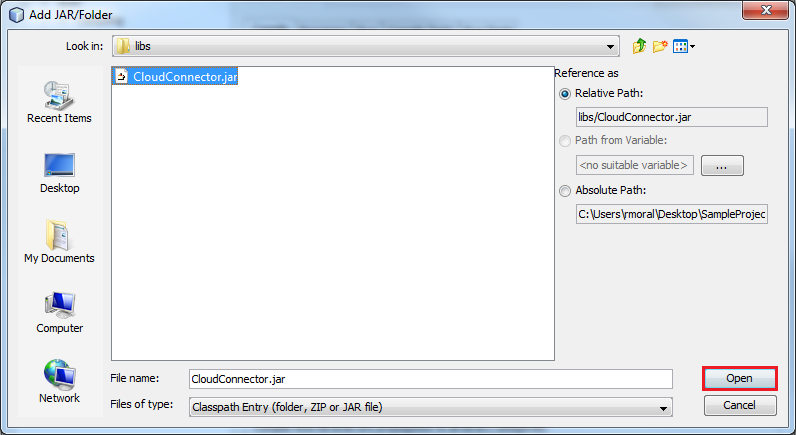
In the Add JAR/Folder window, select the CloudConnector.jar library, which is inside the libs folder, and click Open to finish.
|
|
Register the included API documentation for the Cloud Connector library to review classes and methods documentation within NetBeans.
Find the Javadoc in the SDK installation directory at libraries/ |
There are some configuration parameters that must be filled within the Cloud Connector configuration file, named connector_config.txt. To get a better understanding on this file, refer to the Cloud Connector Configuration section.
This Cloud Connector configuration file should be located in the /res folder of the project, and has to be bundled and added to the project's JAR file. This means that the folder where it is located (in this case /res) should be included in the Libraries & Resources property page and checked to be packaged.
In order to do this in NetBeans, follow these steps:
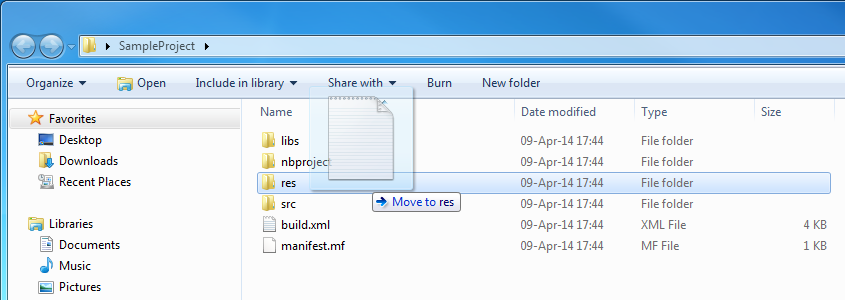
Go to the root project location and create a folder with the name res.
Copy the connector_config.txt to that /res folder, you can find it inside the configuration folder of the Cloud Connector SDK installation directory.
From the NetBeans Projects view, right-click on your project and go to Properties.
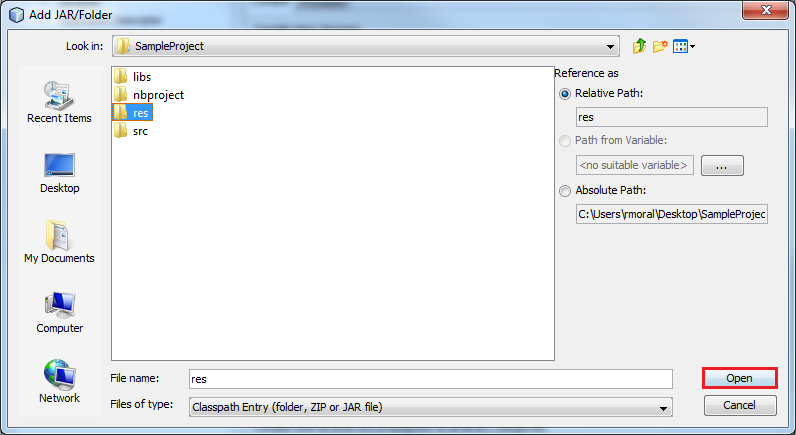
In the left categories list, go to Libraries and click the Add JAR/Folder button.
In the Add JAR/Folder window, select the res folder of your project and click Open to finish.