
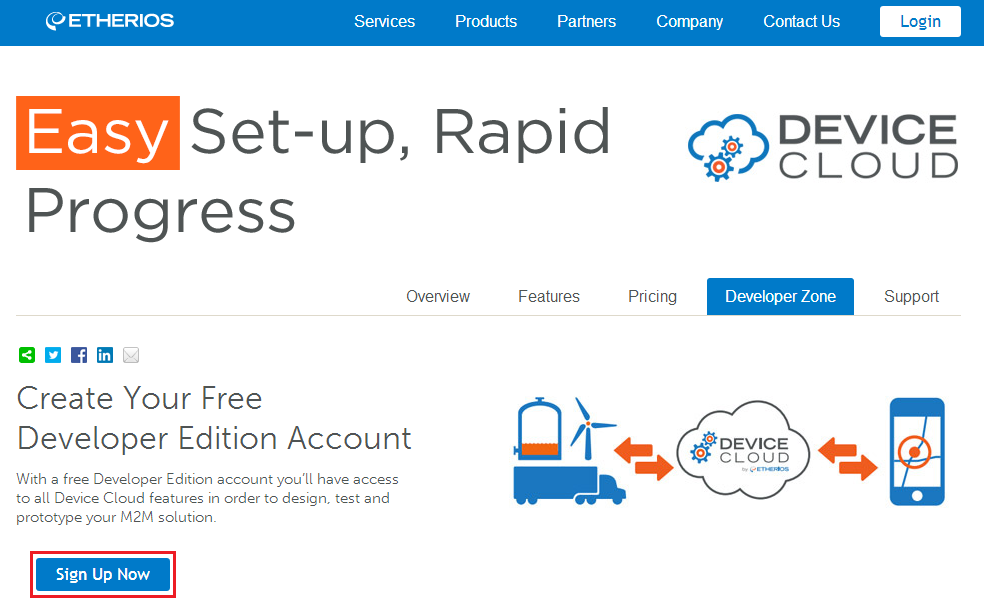
Let's get familiar with Device Cloud by creating a free Developer Edition account.
When you create your free account, you have access to Device Cloud with a limit of 5 devices, 30 SMS messages per month (billing period), unlimited web services, and data streams (data stored for 30 days). When you are ready to expand your device network and add your 6th device, you will be prompted to upgrade your account. If you want to compare all the Device Cloud Editions, go to the Device Cloud Editions Summary.
To create your free Developer Edition account on Device Cloud, navigate to www.etherios.com/products/devicecloud/developerzone, click the Sign Up Now button and then follow the steps for creating your account.
If you need help creating an account, follow the steps outlined in the Device Cloud Account Creation Guide.
|
|
If you already have an account, click the Login button at the top of the page. Select your device cloud and then enter your user credentials into the username and password fields. |
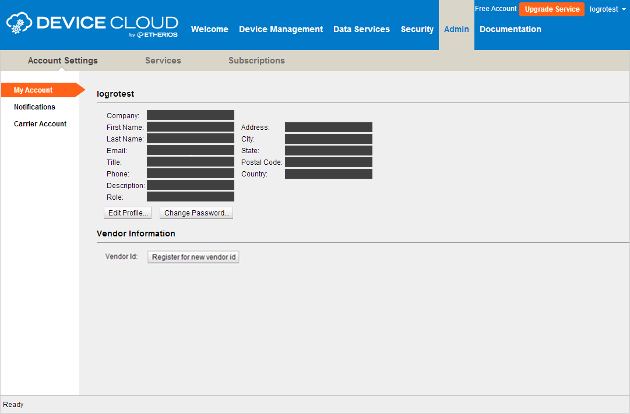
The first time you log in to Device Cloud, you will be directed to the Welcome page. Here you will find tips on how to get started including videos and tutorials.
By selecting the Documentation tab you can access the User Guide and Programming Guide as well as other useful information.
For future reference:
A Vendor ID is a unique 32-bit code identifying the manufacturer of a device. You will need to obtain a Vendor ID in order to develop Cloud Connector applications for your device.
You can obtain a Vendor ID for your Device Cloud account by following these steps:
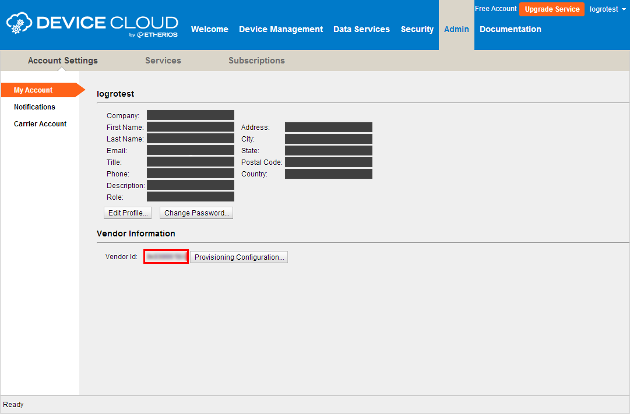
Clicking the Provisioning Configuration... button will open a dialog allowing you to configure the provisioning details for your Vendor ID; these options are only used when devices are auto-provisioned. Auto-provisioning occurs when devices do not have a Device ID and request one from Device Cloud.
|
|
For more information about how the Device ID can be generated, go to the topic How to Generate the Device ID. The way Cloud Connector obtains the Device ID can be configured, review the Device ID type inside the General Settings topic. |
Using the Group drop-down menu you can modify the group that devices will be provisioned into. By selecting a group, auto-provisioning of Device IDs will be enabled and any time a new Device ID is created it will be added to the selected group.
To enable auto-provisioning of Device IDs select the Unrestricted option from the Restricted Status drop-down menu, and (Root Group) in the Group one. Then click OK to apply.

|
|
To learn more about Vendor IDs, provisioning configuration and restriction levels, see:
|
Now that you've successfully created your Device Cloud account, obtained a Vendor ID, and configured the provisioning for it, you're ready to build your first solution using Cloud Connector for Java.